
Administrator control
The Administrator can perform all control actions via Note Web App.
Access the Note account, by going onto the Note webpage.
1. Sign-in
Sign-in using the email you have registered with Qinematic as your User name, as well as your new Password.
2. Note Home options
User details
Language
Menu bar
Find a single person
List of scans performed
Download links
Home button
3. Manage Users
Click the Menu bar and then ‘Manage users’ to create, manage rights and delete Users.
Check the Organisation of interest, and click on the link to see the Users of this Organisation

Click on the pink plus (+) botton to add a new User

Enter the new User details. Include personal email, Display name, and description. Double check the Organisation that the person belongs to.
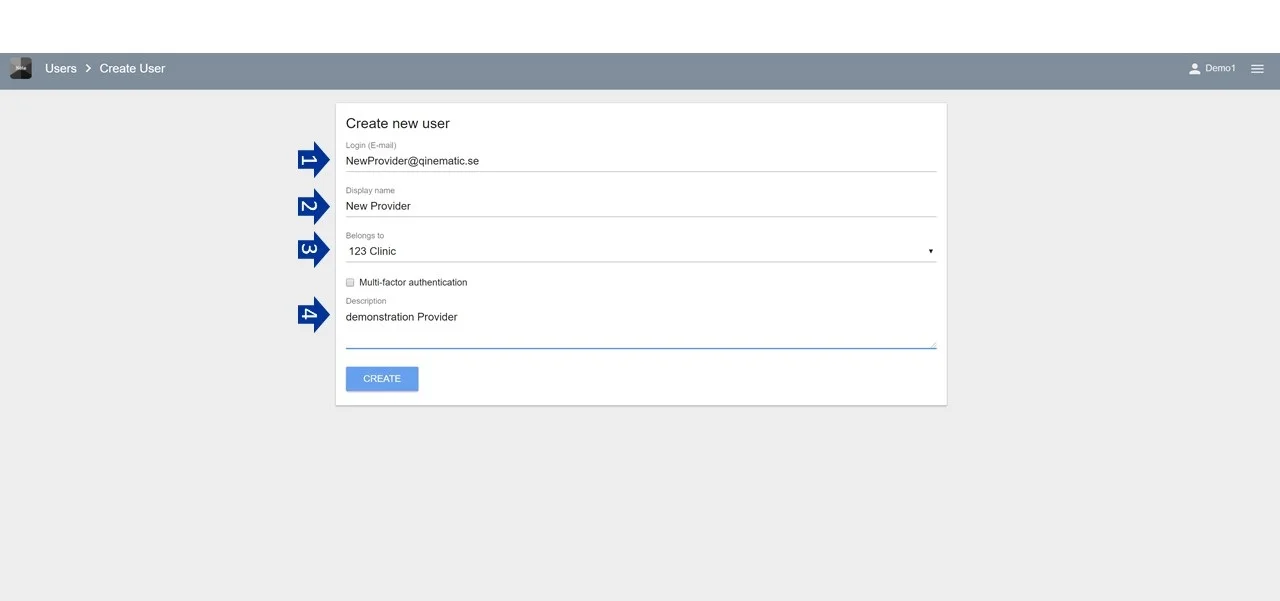
Note 1: If a Provider wants to use the same Email address or Display Name for multiple Organisations, please contact Qinematic directly at support@qinematic.com
Note 2: The Email and the Display name cannot contain any unusual characters, spaces, quotes, all brackets, plus sign or regional symbols. If you see this error message for User Login or Display Name, change the name and remove the forbidden characters.

Choose the access rights for the User:
1. Administrator access
2. Posture Scan access
3. Movement Lab access
4. Note access
5. Permission to view the scans registry, scan statistics and logs

Check that the end date for the period with access rights is correct.
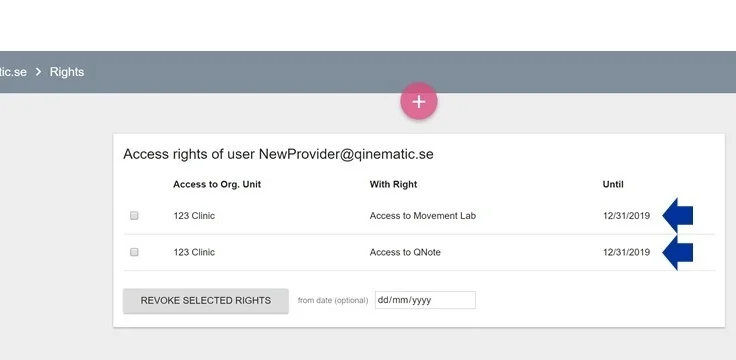
To revoke rights, choose which features to deny access to, then decide on the date for removing the rights, and finally click on the Revoke button. Skip step 2 if you want to remove rights immediately.

To check the Access Rights for a User, click on the Shield icon
To reset the password for a User, click on the Key icon
To delete a User, click on the Trash icon

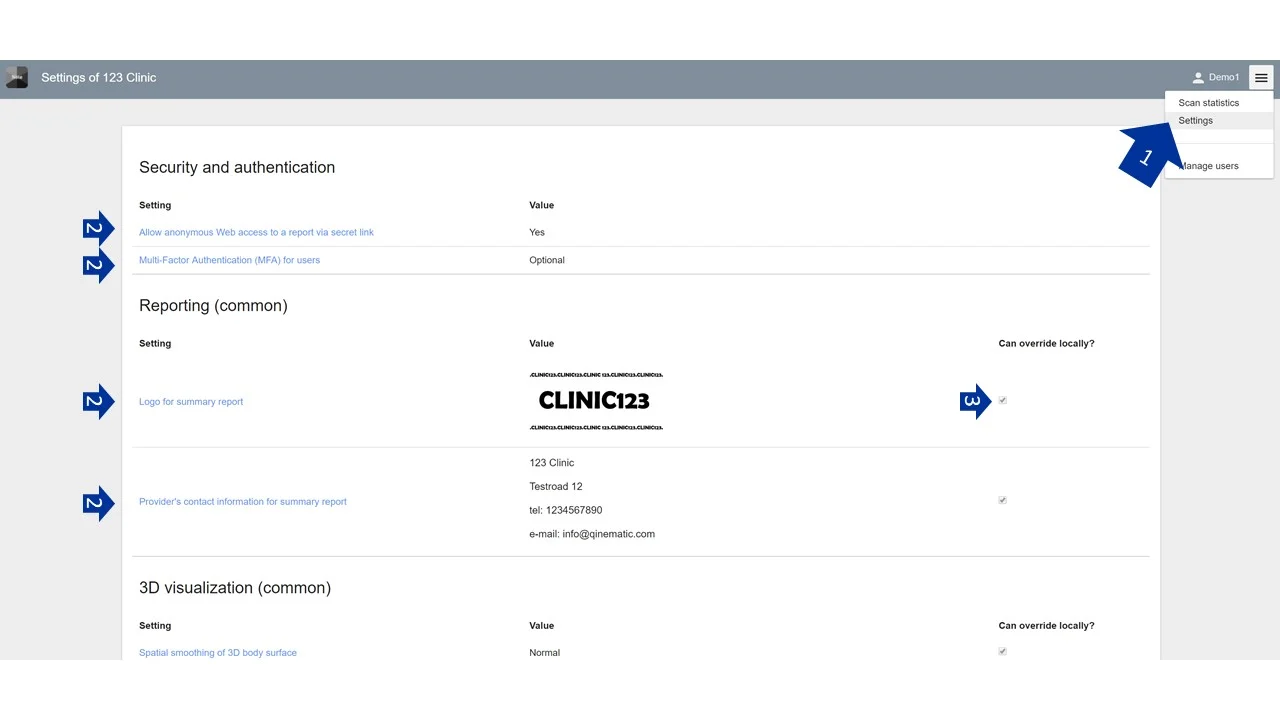
4. Settings
Choose Settings in the Menu bar to see a range of options for:
Security and Authentication
Changing report information (logo, address)
Adjusting 3D visuals
Posture Scan settings (remote changes)
Movement Lab settings (remote changes)
Permission to override settings locally
5. Scan Statistics
Choose ‘Scan statistics’ in the Menu bar to see what services have been used and by whom for given period of time.
